SSH oder auch secure shell ist eine hervorragende Möglichkeit für eine sichere Kommunikation zwischen zwei Endgeräten. Auf diese Art und Weise lassen sich beispielsweise Daten per scp oder sftp austauschen, aber auch Netzwerkkomponenten und Server aus der Ferne administrieren und konfigurieren.
Attention: For the english version, click here!
Heute zeige ich im Schnelldurchlauf, wie man unter Ubuntu oder ähnlichen Systemen, ssh aktiviert. Das Protokoll hört übrigens auf Port 22. Dies ist wichtig, sobald eine Firewall zwischen zwei Komponenten ist.
SSH unter Ubuntu einrichten
In üblicher Manier wollen wir erstmal wieder unser Repository updaten:
sudo apt updateIm nächsten Schritt können wir dann auch gleich das benötigte Paket installieren:
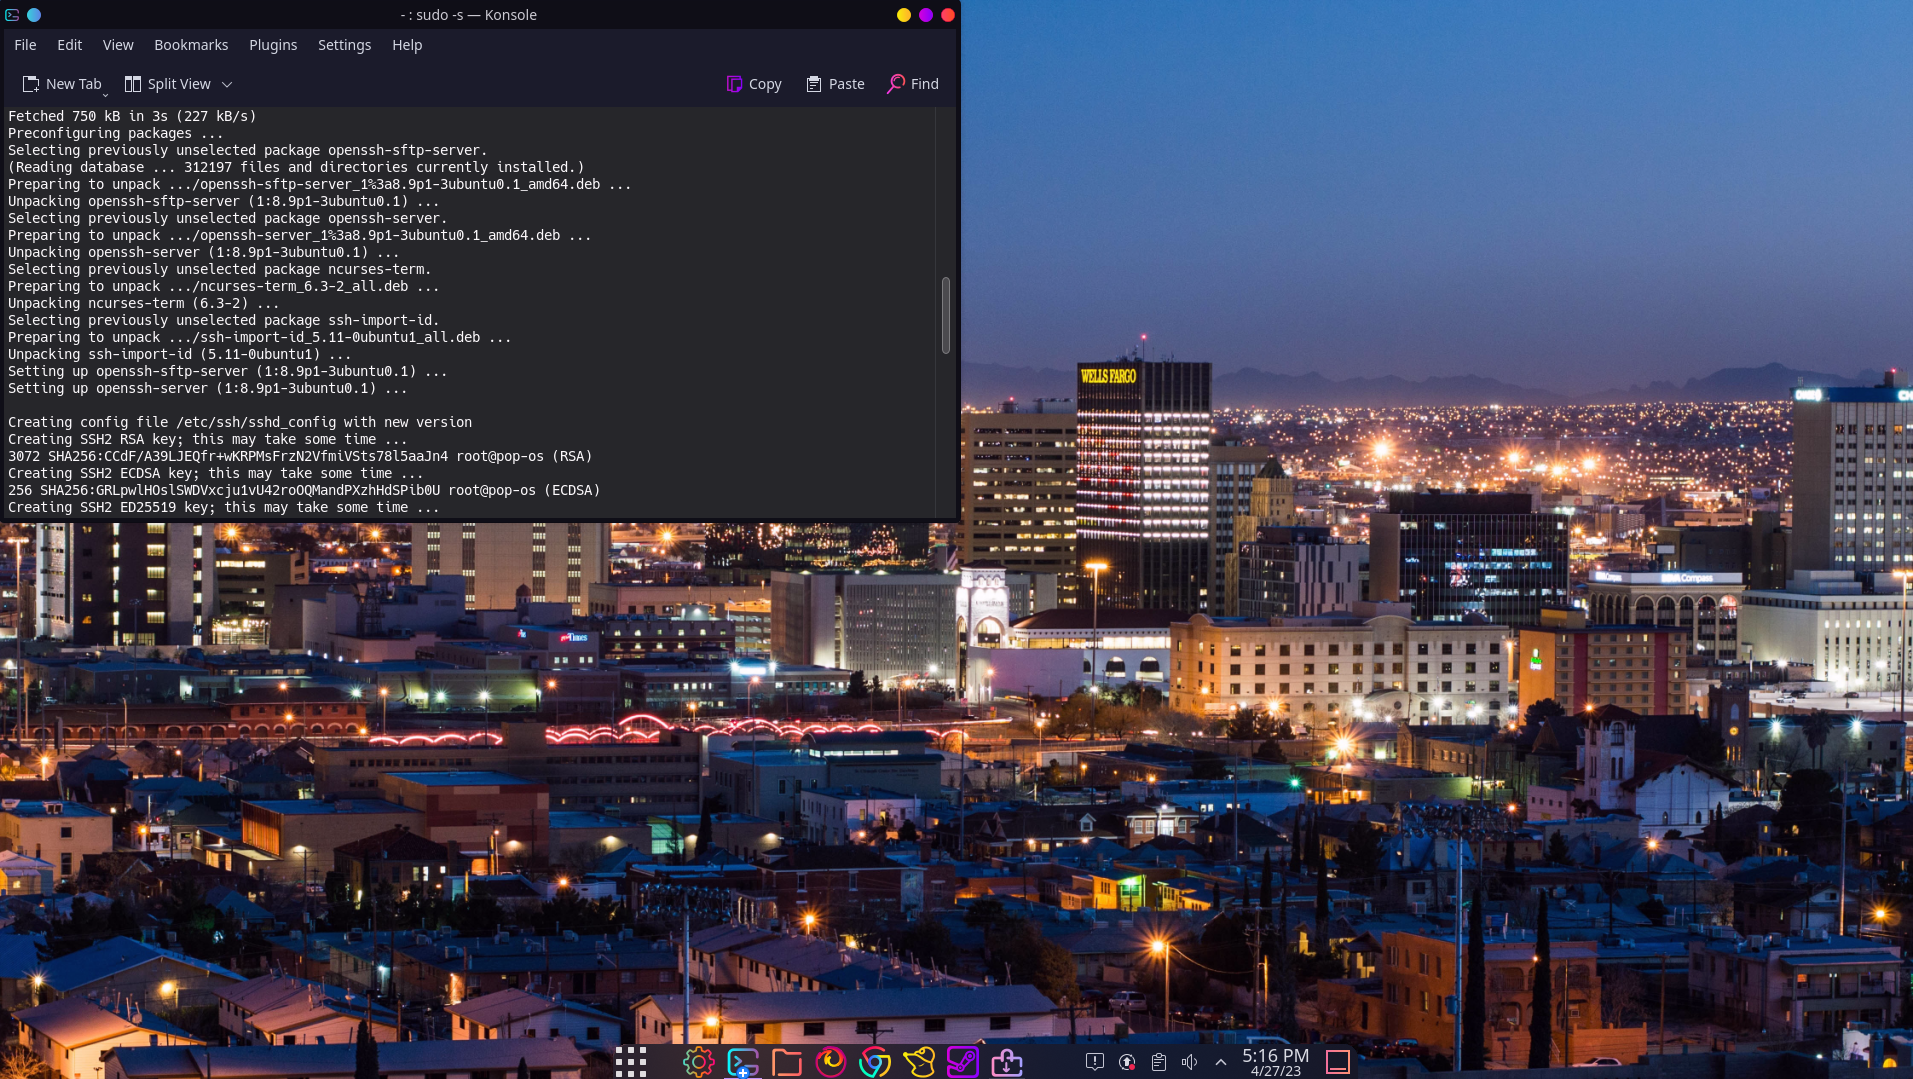
sudo apt install openssh-serverIm Anschluss wird das Passwort verlangt, falls ihr nicht schon root-Rechte habt. Bestätigt die Installation mit y für YES und wartet bis die Installation abgeschlossen ist.
Sobald dies geschehen ist, wird SSH automatisch gestartet, dennoch ist eine Kontrolle hierbei immer von Vorteil. Ist man abgelenkt oder hat parallel noch etwas anderes erledigt, kann schnell auch mal eine Fehlermeldung überlesen werden und man wundert sich zum Schluss, warum es nicht funktioniert.
sudo systemctl status sshSofern alles planmäßig funktioniert hat, erhalten wir diesen Output:
admin@byte-sized:~$ sudo systemctl status ssh
[sudo] password for admin:
● ssh.service - OpenBSD Secure Shell server
     Loaded: loaded (/lib/systemd/system/ssh.service; enabled; vendor preset: enabled)
     Active: active (running) since Thu 2023-04-27 16:20:04 CEST; 17min ago
       Docs: man:sshd(8)
             man:sshd_config(5)
   Main PID: 4933 (sshd)
      Tasks: 1 (limit: 18922)
     Memory: 4.2M
        CPU: 102ms
     CGroup: /system.slice/ssh.service
             └─4933 "sshd: /usr/sbin/sshd -D [listener] 0 of 10-100 startups"
Der Service ist also aktiv (running).
In der Einleitung habe ich bereits das Thema Firewall kurz angerissen. Ubuntu ist standardmäßig mit der Software-Firewall namens UFW ausgestattet. Sofern diese aktiv, müsst ihr den SSH-Zugriff natürlich erlauben. Sind andere Firewalls im Spiel, muss das Regelwerk natürlich ebenfalls entsprechend angepasst werden:
sudo ufw allow sshPer SSH remote verbinden
So, das Tool ist installiert, jetzt wollen wir es natürlich auch nutzen. Dazu können wir Putty nutzen, die CMD oder PowerShell-Konsole unter Windows, oder eben das klassische Terminal.
Um euch zur Ubuntu Maschine zu verbinden, braucht ihr natürlich die IP-Adresse des Gerätes und das geht wie folgt:
ip aEinen ähnlichen Output solltet ihr erhalten:
2: enp0s25: mtu 1500 qdisc fq_codel state UP group default qlen 1000
link/ether 90:1b:0e:41:c8:51 brd ff:ff:ff:ff:ff:ff
inet 192.168.0.6/24 brd 192.168.0.255 scope global dynamic noprefixroute enp0s25
valid_lft 84431sec preferred_lft 84431sec
inet6 fe80::589b:1580:78c5:6865/64 scope link noprefixroute
valid_lft forever preferred_lft forever
Die IP-Adresse lautet in meinem Fall 192.168.0.6
Also brauche ich nur noch den User der Ubuntu Maschine und der sollte mir natürlich ebenfalls bekannt sein. Das SSH-Kommando sieht dann wie folgt aus:
ssh admin@192.168.0.6Wenn ihr euch das erste Mal zur Maschine verbindet, werdet ihr folgenden Output erhalten:
The authenticity of host '192.168.0.6 (192.168.0.6)' can't be established.
ECDSA key fingerprint is SHA256:GRLpwlHOslSWDVxcju1vU42roOQMandPXzhHdSPib0U.
Are you sure you want to continue connecting (yes/no)?
Das bestätigen wir mit YES und der Fingerprint unserer Ubuntu Maschine wird zur known_hosts hinzugefügt. Bei einem wiederholten verbinden, kennen sich die zwei Geräte bereits und diese Abfrage erscheint nicht mehr.
Hat alles funktioniert, begrüßt uns unsere Ubuntu Maschine und wir sind auf dem System erfolgreich eingeloggt:
Welcome to Ubuntu 20.04 LTS (GNU/Linux 5.4.0-26-generic x86_64)

 * Documentation:  https://help.ubuntu.com
 * Management:     https://landscape.canonical.com
 * Support:        https://ubuntu.com/advantage
Das war’s! Viel Spaß beim Selbermachen!
How to enable SSH on Ubuntu
SSH, or Secure Shell, is an excellent way to establish secure communication between two devices. This allows, for example, for data to be exchanged using SCP or SFTP, as well as for network components and servers to be administered and configured remotely.
Today, I will demonstrate how to enable SSH on Ubuntu or similar systems. By the way, the protocol listens on port 22, which is important when a firewall is present between two components.
dsaf
In usual fashion, let’s first update our repository:
sudo apt updateIn the next step, we can then install the required package right away:
sudo apt install openssh-serverAfterwards, the password will be requested if you do not already have root privileges. Confirm the installation with y for YES and wait until the installation is complete.
Once this is done, SSH will start automatically, but it’s always beneficial to check. If you get distracted or are doing something else in parallel, it’s easy to overlook an error message and wonder in the end why it’s not working.
sudo systemctl status sshIf everything has worked as planned, we will receive this output:
admin@byte-sized:~$ sudo systemctl status ssh
[sudo] password for admin:
● ssh.service - OpenBSD Secure Shell server
     Loaded: loaded (/lib/systemd/system/ssh.service; enabled; vendor preset: enabled)
     Active: active (running) since Thu 2023-04-27 16:20:04 CEST; 17min ago
       Docs: man:sshd(8)
             man:sshd_config(5)
   Main PID: 4933 (sshd)
      Tasks: 1 (limit: 18922)
     Memory: 4.2M
        CPU: 102ms
     CGroup: /system.slice/ssh.service
             └─4933 "sshd: /usr/sbin/sshd -D [listener] 0 of 10-100 startups"
So the service is active (running).
In the introduction, I briefly mentioned the topic of the firewall. Ubuntu comes with the UFW software firewall installed by default. If this is active, you will need to allow SSH access. If other firewalls are involved, the rules must also be adjusted accordingly.
sudo ufw allow sshConnecting to the remote machine
So, the tool is installed, and now we want to use it, of course. To do this, we can use PuTTY, the CMD or PowerShell console on Windows, or the classic terminal.
To connect to the Ubuntu machine, you will need the device’s IP address, and this is how you can find it:
ip aYou should see an output like this:
2: enp0s25: mtu 1500 qdisc fq_codel state UP group default qlen 1000
link/ether 90:1b:0e:41:c8:51 brd ff:ff:ff:ff:ff:ff
inet 192.168.0.6/24 brd 192.168.0.255 scope global dynamic noprefixroute enp0s25
valid_lft 84431sec preferred_lft 84431sec
inet6 fe80::589b:1580:78c5:6865/64 scope link noprefixroute
valid_lft forever preferred_lft forever
In my case, the IP address is 192.168.0.6.
So, all we need now is the user of the Ubuntu machine, which should also be known to you. The SSH command would look like this:
ssh admin@192.168.0.6If you connect to the machine for the first time, you will receive the following output:
The authenticity of host '192.168.0.6 (192.168.0.6)' can't be established.
ECDSA key fingerprint is SHA256:GRLpwlHOslSWDVxcju1vU42roOQMandPXzhHdSPib0U.
Are you sure you want to continue connecting (yes/no)?
We confirm this with YES, and the fingerprint of our Ubuntu machine will be added to the known_hosts file. If you reconnect, the two devices already know each other, and this prompt will not appear again.
If everything worked, our Ubuntu machine will greet us, and we have successfully logged into the system:
Welcome to Ubuntu 20.04 LTS (GNU/Linux 5.4.0-26-generic x86_64)

 * Documentation:  https://help.ubuntu.com
 * Management:     https://landscape.canonical.com
 * Support:        https://ubuntu.com/advantage
That’s it! Have fun.
Start the discussion