
I2p ist, ähnlich wie Tor, ein Anonymisierungsnetzwerk und bietet etliche webbasierten Services, darunter Blogging, Torrenting, Mail und Messaging. Websites die in diesem Netzwerk gehosted werden bezeichnet man als eepsite und haben charakteristisch die Endung .i2p. Das besondere an I2P ist, dass jeder als Router agiert und ein Teil seiner Bandbreite für das Netzwerk bereitstellt. Das heißt, umso mehr Instanzen miteinander verbunden sind, desto schneller funktioniert das Netzwerk.
In dem heutigen Beitrag zeige ich dir, wie du I2P unter FreeBSD installierst.
Attention: For the english version, click here!
Voraussetzungen
Um die Installation und Konfiguration durchzuführen, musst du vorab ein paar Schritte erledigen:
- GUI installieren
- openjdk (Java) >= Version 17 installieren
- Webbrowser installieren
Teile des Installationsprozesses kannst du zwar über das Terminal erledigen, doch die abschließenden Konfigurationsschritte sind in einem Browser durchzuführen.
Installation von I2P
Wie immer, starten wir mit dem Updaten des Repository. Bei der Gelegenheit kann man auch gleich seine Packages upgraden, ist aber an der Stelle optional:
su
pkg update && pkg upgrade -y
Im Anschluss kannst du schon mal openjdk17 (oder höher) installieren, welches für I2P benötigt wird:
pkg install openjdk17Gehe in der Zwischenzeit auf die Website des I2P-Projekts und lade dir die aktuelle Version (2.4.0) für FreeBSD herunter. Leider ist das Package aus dem FreeBSD Repo nicht mehr aktuell, deshalb beziehe es besser direkt von I2P.
Hast du es heruntergeladen, kannst du es auch schon installieren:
java -jar /home/dennis/i2pinstall_2.4.0.jarIst das getan, wechsel wieder in deinen normalen Benutzer. Achte darauf in welches Verzeichnis du I2P installierst. Um I2P starten zu können, gebe folgenden Befehl ein:
/usr/local/i2p/./runplain.shDamit ist die Installation abgeschlossen und du kannst die letzten Konfigurationsschritte durchführen.
Konfiguration von I2P abschließen
Starte zunächst einen Webbrowser deiner Wahl. Bei mir hat sich automatisch ein Browser mit der Willkommensnachricht von I2P geöffnet. Falls das bei dir nicht der Fall ist, tippe localhost:7657/welcome in die Adresszeile. Dann sollte sich spätestens diese Seite öffnen:
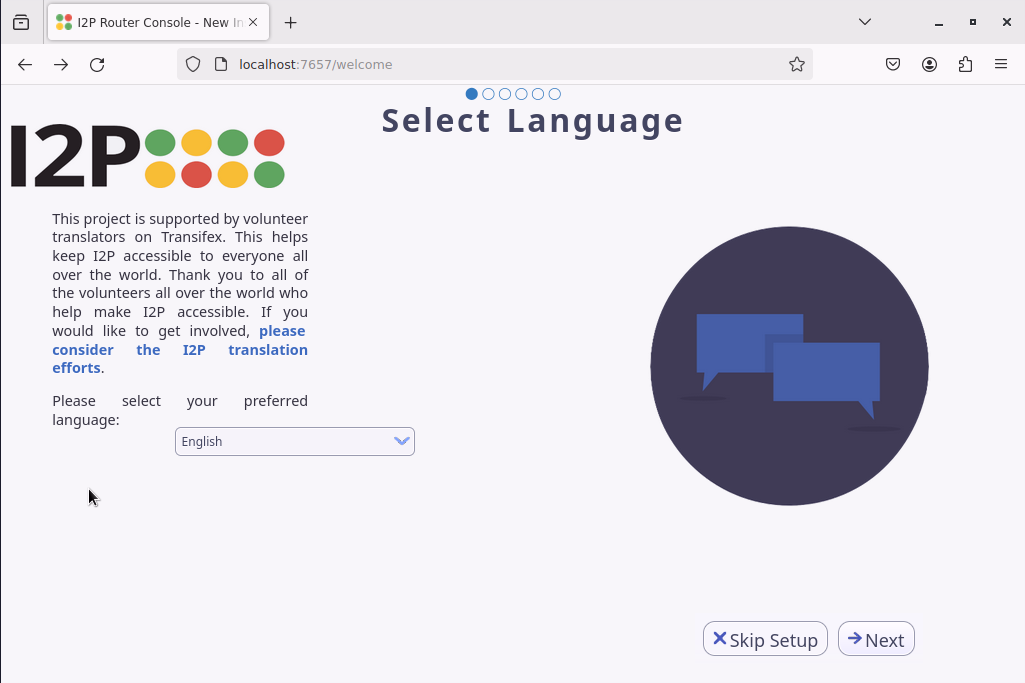
Während des Setups kannst du deine bevorzugte Sprache einrichten, ein Bandbreitentest durchführen, sodass automatisch ermittelt wird, wieviel Bandbreite du dem Netzwerk zur Verfügung stellen kannst.
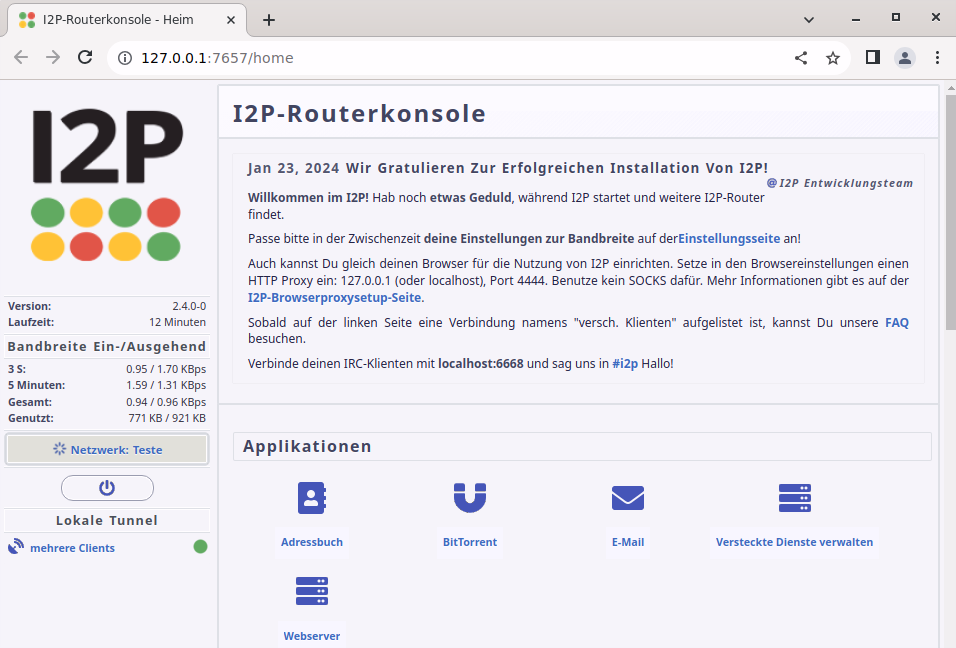
Danach beendest du das Setup und es öffnet sich die Routerkonsole:

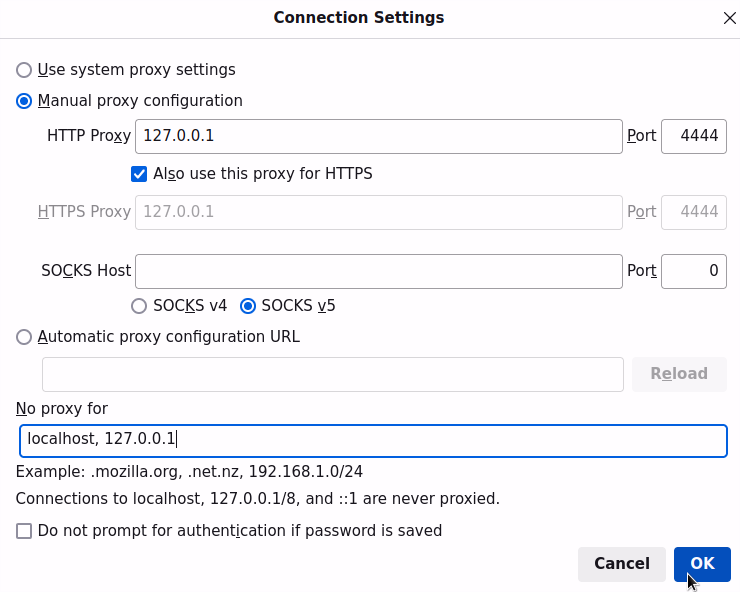
Um eepsites nun ansurfen zu können, musst du noch die Proxy-Einstellungen deines Browsers bearbeiten. Für http und https lautet die Proxy-Adresse 127.0.0.1 auf dem Port 4444. Hier kannst du nachsehen, wie es unter verschiedenen Browsern durchgeführt wird.
Meine Einstellungen unter Firefox sehen nun so aus:
Um nach einem Neustart deines Systems I2P wieder zu starten, nutze die manuelle Variante
~/i2p/./runplain.shoder aktiviere den Service dauerhaft mit:
service i2p enableAbschluss
In diesem Tutorial habe ich dir gezeigt, wie du das Netzwerk unter FreeBSD lauffähig bekommst, um die Services und Websites (eepsites) zu nutzen. Neben der Installation der notwendigen Pakete und Konfiguration deiner Routerkonsole musst du ebenfalls die Proxy-Einstellungen eines Webbrowsers deiner Wahl anpassen. Dieser ist dann nicht mehr in der Lage im Clearweb zu surfen, da er noch über den Proxy, also dein Router kommuniziert. Viel Spaß!
How to install I2P on FreeBSD
I2P is, similar to Tor, an anonymization network that offers various web-based services, including blogging, torrenting, mail, and messaging. Websites hosted on the network are called eepsites and typically have the characteristic ending .i2p. What sets I2P apart is that everyone acts as a router and contributes a portion of their bandwidth to the network. This means that the more instances are connected, the faster the network operates.
In today’s post, I will show you how to install I2P on FreeBSD.
Prerequisites
To perform the installation and configuration, you need to complete a few steps beforehand:
- Install a GUI
While parts of the installation process can be done through the terminal, the final configuration steps need to be done in a browser.
Installation of I2P
As always, let’s start by updating the repository. Optionally, you can also upgrade your packages at this point:
su
pkg update && pkg upgrade -y
Next, you can go ahead and install openjdk17 (or higher), which is required for I2P:
pkg install openjdk17
Meanwhile, visit the project’s website and download the current version (2.4.0) for FreeBSD. Unfortunately, the package from the FreeBSD repository is no longer up-to-date, so it’s better to get it directly from I2P.
Once downloaded, you can proceed with the installation:
java -jar /home/dennis/i2pinstall_2.4.0.jar
Once that’s done, switch back to your regular user. Pay attention to the directory where you are installing I2P. To start I2P, enter the following command:
/usr/local/i2p/./runplain.sh
With that, the installation is complete, and you can proceed with the final configuration steps.
Configuration of I2P
Firstly, launch a web browser of your choice. For me, the welcome message from I2P opened automatically. If that’s not the case for you, type localhost:7657/welcome into the address bar. You should see this page:
During the setup, you can set your preferred language, perform a bandwidth test to automatically determine how much bandwidth you can contribute to the network.
After completing the setup, the router console will open:
To surf eepsites, you need to edit your browser’s proxy settings. For http and https, the proxy address is 127.0.0.1 on port 4444. You can check how to do this under different browsers.
My settings in Firefox now look like this:
To restart the network after a system restart, use the manual method:
~/i2p/./runplain.sh
or enable the service permanently with:
service i2p enable
Conclusion
In this tutorial, I’ve shown you how to make the network functional on FreeBSD to utilize its services and websites (eepsites). In addition to installing the necessary packages and configuring your I2P router console, you also need to adjust the proxy settings of a browser of your choice. This browser will no longer be able to surf the Clearweb after the adjustments, as it communicates through the proxy, your I2P router. Have fun!
Start the discussion