In diesem Tutorial möchte ich dir zeigen, wie du ganz einfach OPNsense in VirtualBox installieren kannst. OPNsense ist ein Fork der allseits bekannten pfsense, welche wiederrum der m0n0wall entsprang. OPNsense, wie auch pfsense basieren auf FreeBSD und ist ebenfalls opensource software.
Attention: For the english version, click here!
Bevor du mit der Installation beginnst, lade dir zuerst das passende Image für deine Architektur herunter: https://opnsense.org/download/
VM in VirtualBox anlegen
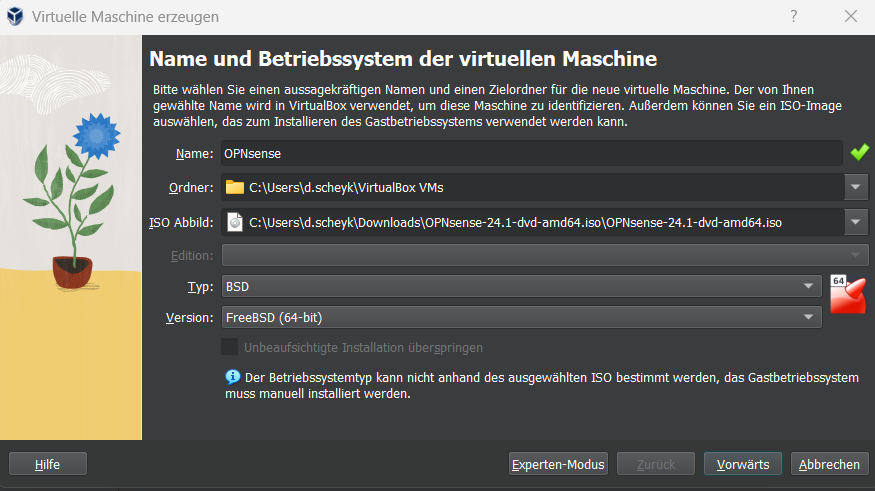
Starte VirtualBox und navigiere oben in der Leiste zu Maschine – Neu. Wähle einen Namen für deine VM und den Speicherort aus. Füge das Image für die OPNSense-Installation hinzu, gebe als Typ „BSD“ und als Version deine entsprechende Architektur an.
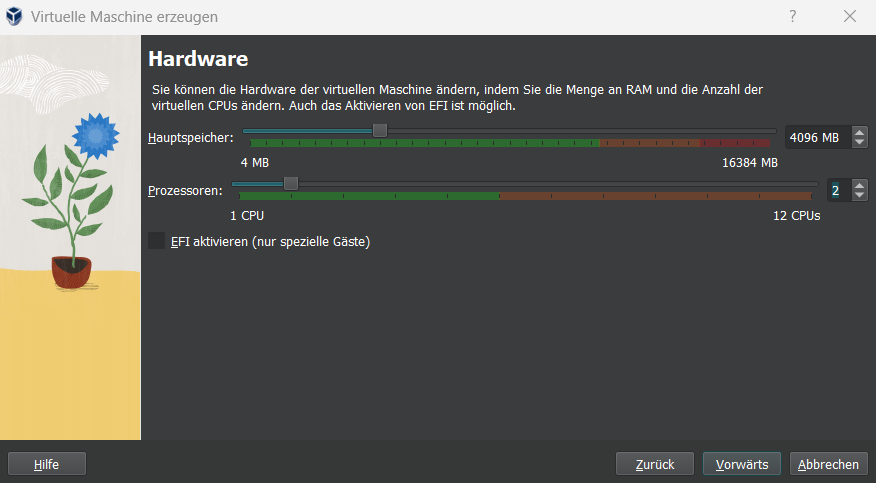
Lege hier den RAM und die Prozessorkerne für die VM fest.
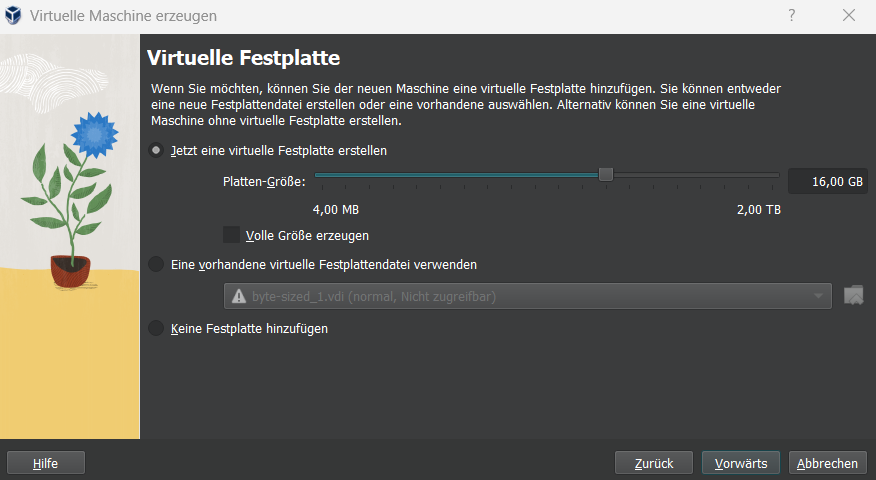
Für den Test kannst du ruhig 16GB als Größe der Festplatte belassen. Soll es produktiv sein dürfen es gerne 40GB sein.
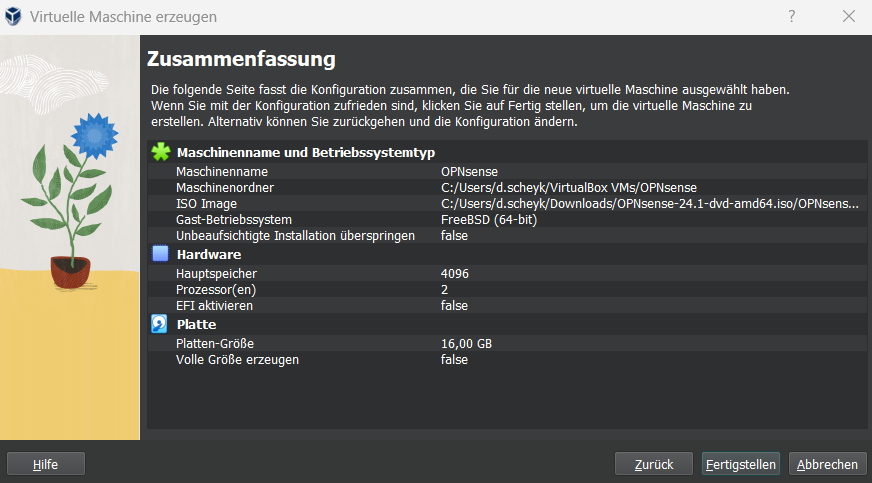
Hier erhälst du nochmal eine Übersicht über deine gesetzten Einstellungen.
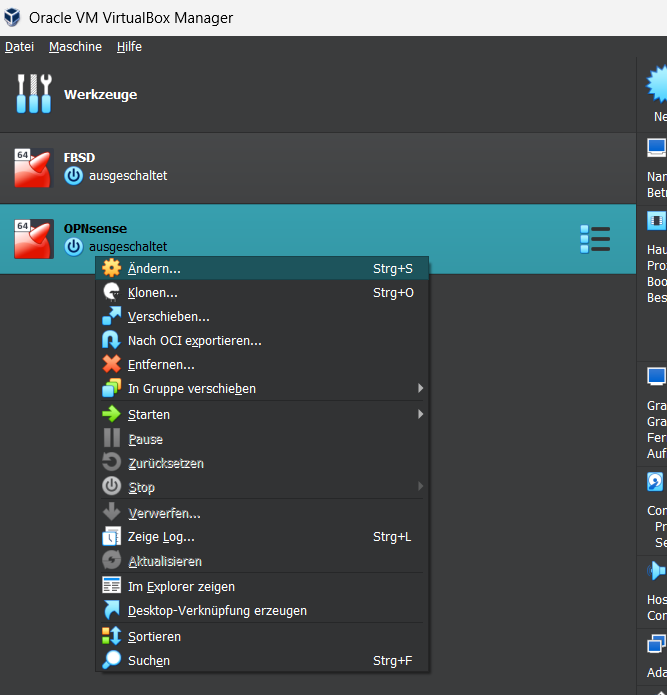
Gehe mit Rechtsklick auf die eben angelegte VM und gehe auf „Ändern“.
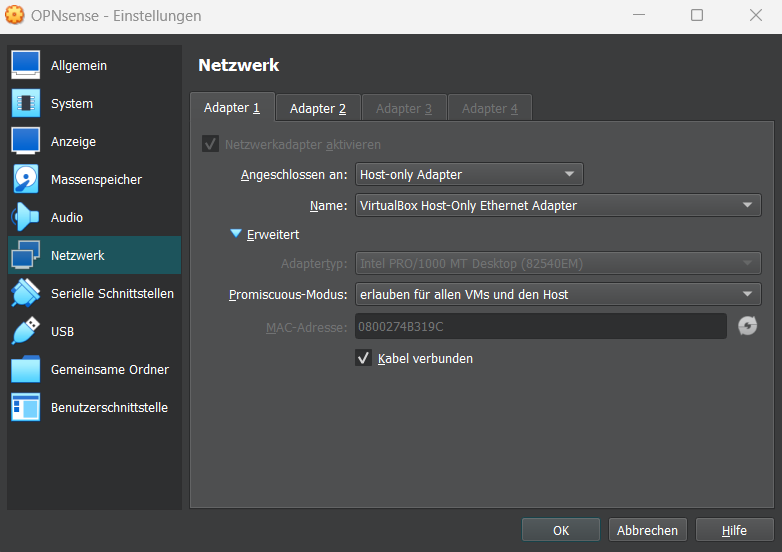
Wechsel zu „Netzwerk“. Für dieses Szenario benötigst du zwei Adapter. Eine die sich Richtung WAN verbindet und eine weitere für den Zugriff vom LAN.
Adapter 1 bildet den Host-only Adapter für den LAN Zugriff. Hierbei den Promiscuous-Modus für alle VMs und den Host erlauben.
Adpater 2 zeigt Richtung WAN und soll als Netzwerkbrücke agieren. Auch hier wieder den Promiscuous-Modus für alle VMs und den Host erlauben.

OPNsense installieren
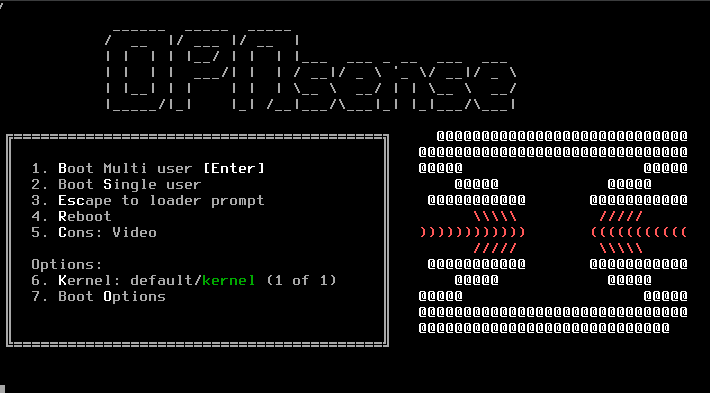
Starte die VM durch Doppelklick und es erscheint folgender Start-Screen. Erfahrenen FreeBSD-Usern wird es bekannt vorkommen.
Ist der Start durchgelaufen, kannst du nun mit dem login „installer“ und dem Passwort „opnsense“ die Installation beginnen.

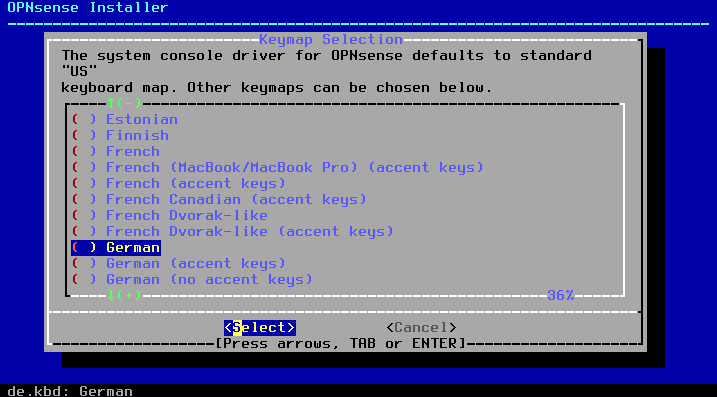
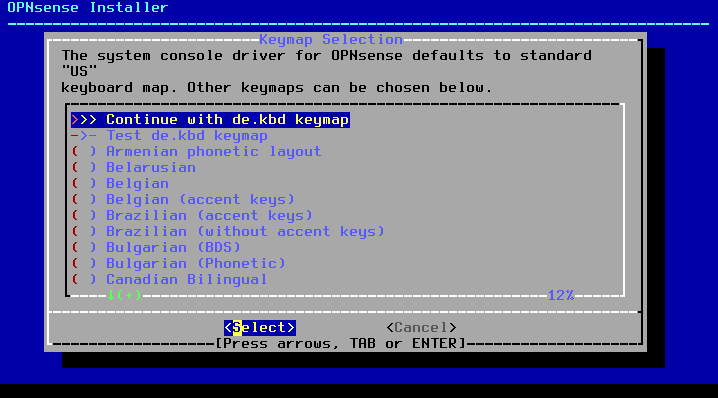
Auch diesen Screen kennt man von einer FreeBSD-Installation. Wähle dein Keyboard-Layout aus…
… und setze die Installation fort.
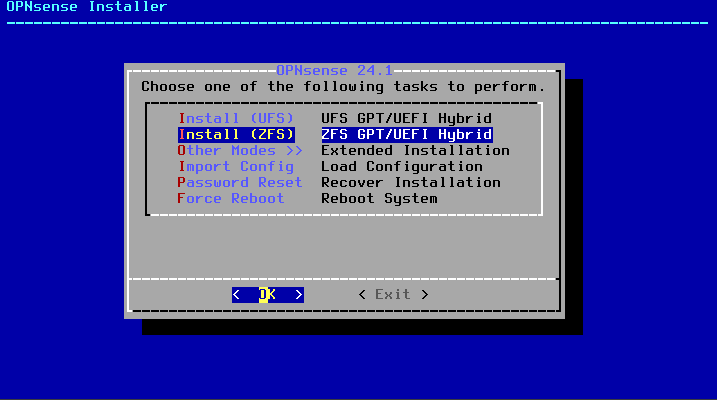
Wähle hier dein bevorzugtes Dateisystem. Ich habe mich für ZFS entschieden.
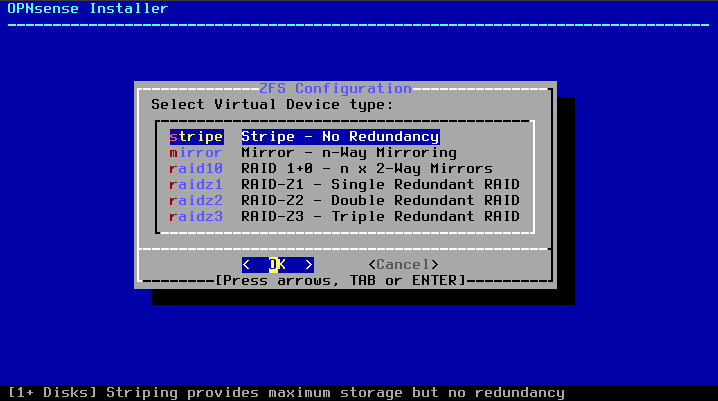
Wenn du eine Redundanz im Sinne von RAID oder Mirroring nutzen möchtest, kannst du es hier einrichten. Ich bin vorerst mit stripe zufrieden.
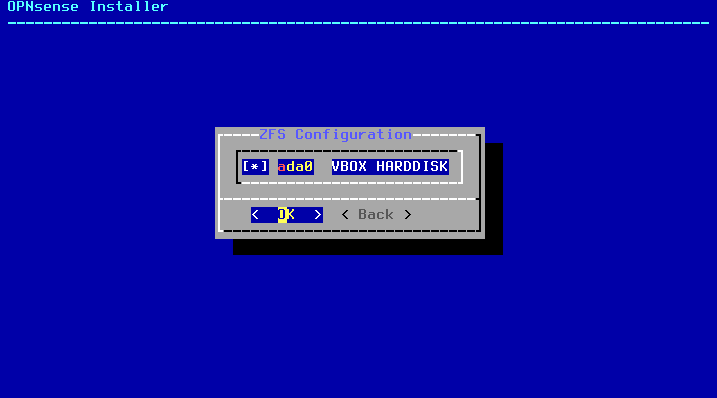
Wähle die Festplatte für die Installation aus und bestätige mit OK.
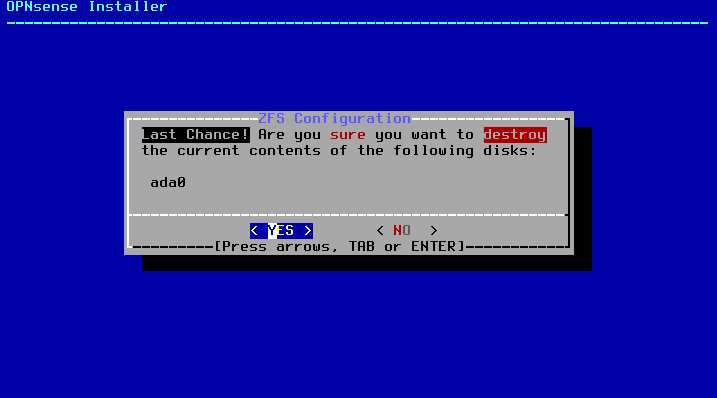
Letzte Chance! Wenn du dem Tutorial genau folgst, kannst du ruhigen Gewissen mit YES bestätigen. Andernfalls lohnt sich ein letzter prüfender Blick…
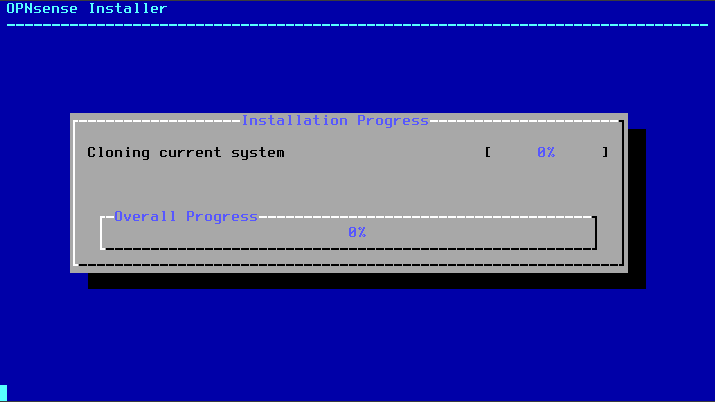
Geduld ist eine Tugend
Es geht los! OPNsense wird installiert. Der Prozess kann eine Weile in Anspruch nehmen.
Hier solltest du dringend das Root Passwort ändern, vor allem, wenn du die OPNsense produktiv einsetzen möchtest!
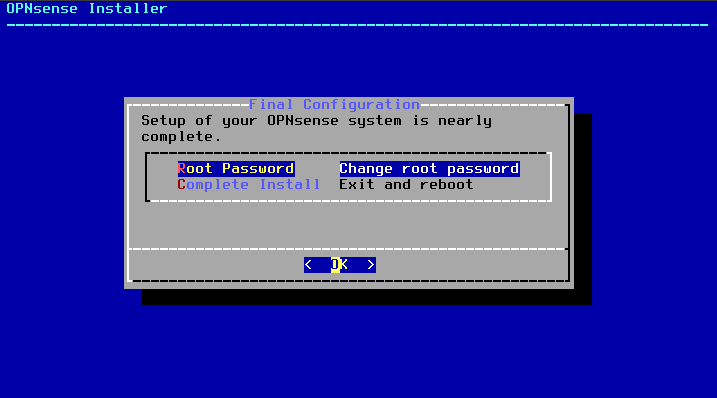
Wähle ein langes und komplexes Passwort. Schaue am Besten nochmal hier vorbei.

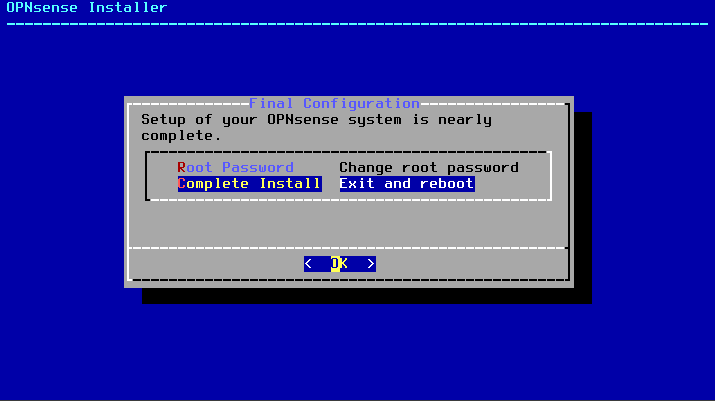
Danach kannst du den Installer beenden und die OPNsense neustarten lassen.
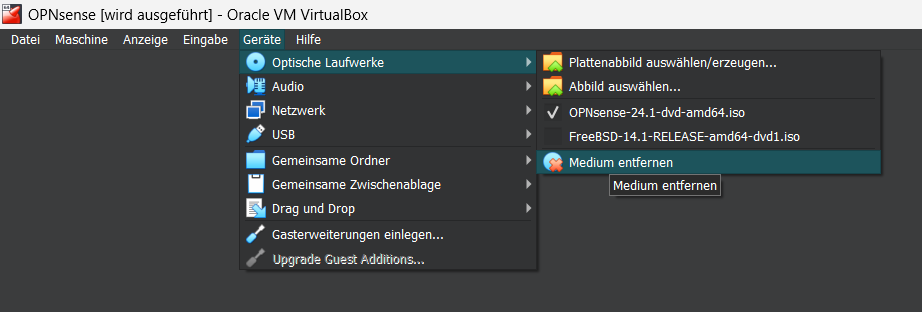
Entweder fährst du deine VM herunter und entfernst das Boot-Medium oder du passt den Moment ab und gehst über Geräte – Optische Laufwerke – Medium entfernen. Ich suche den Nervenkitzel und bevorzuge die letztere Variante.
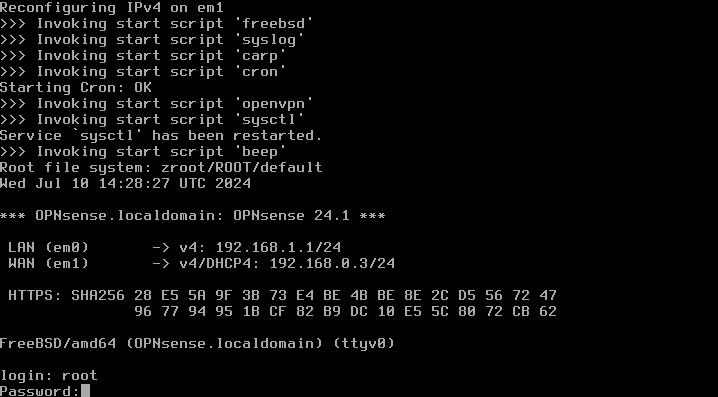
Ist die OPNsense gestartet, kannst du dich endlich einloggen. Hier sehen wir auch schon, dass LAN (em0) und WAN (em1) bereits IP-Adressen haben. Die LAN-Schnittstelle wird standardmäßig immer auf die 192.168.1.1 gesetzt, diese kannst du aber auch ändern, sofern du es möchtest. Die WAN-Schnittstelle hat von mir eine DHCP-Adresse meines Routers erhalten, bei dir wird es sicherlich genau so sein.
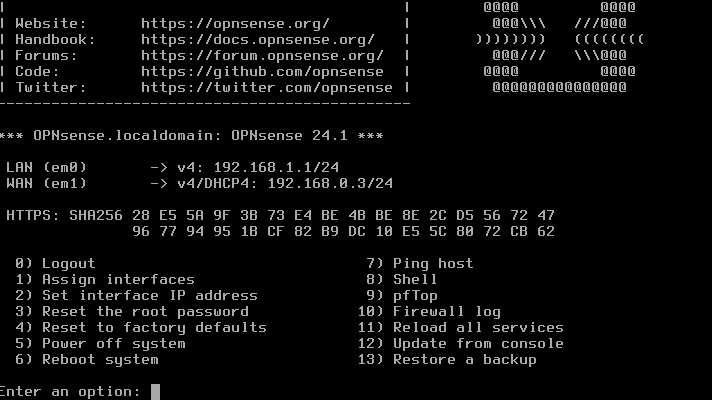
Nach dem Login bietet uns OPNsense schon mal ein Menü an. Du kannst Schnittstellen anpassen, Passwort resetten, usw. Wenn du auf Nummer sicher gehen möchtest, wähle Punkt 7 und ping beispielsweise www.google.de, um zu testen, dass du auch wirklich eine Verbindung ins Internet hast.
Im weiteren Verlauf werden wir die Weboberfläche aufrufen.
Eine kleine Anpassung ist nötig
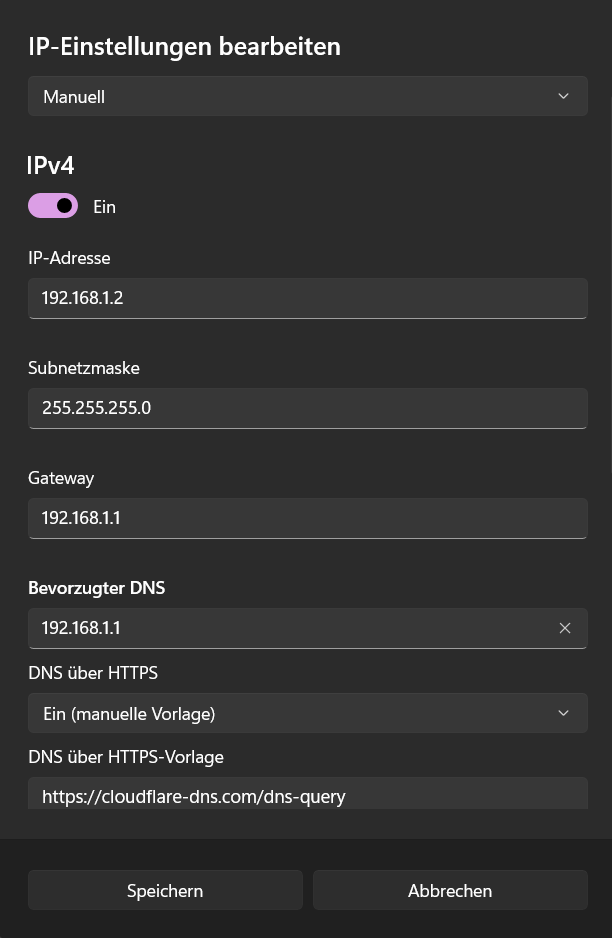
Ich arbeite hier gerade von meinem Windows 11 Client und muss noch meinen VirtualBox Host-only Network Adapter bearbeiten. Die OPNsense hat auf der LAN-Schnittstelle die 192.168.1.1, daran habe ich nichts geändert, also setze ich die IP meines Clients auf die 192.168.1.2
Die Weboberfläche von OPNsense öffnen
Öffne den Browser deiner Wahl und gebe https://192.168.1.1 ein – falls du sie geändert hast, natürlich deine vergebene Adresse der LAN-Schnittstelle.
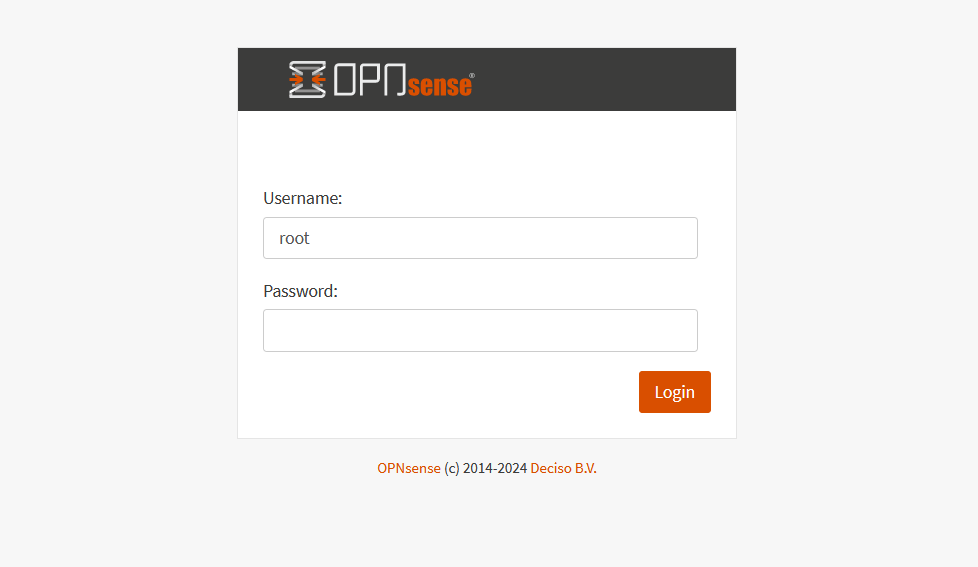
Folgender Startbildschirm sollte sich öffnen:
OPNsense fordert uns auf die Initialkonfiguration zu durchlaufen. Du bist aber nicht dazu verpflichtend, um die Firewall einsetzen zu können – Ein Blick lohnt sich trotzdem!

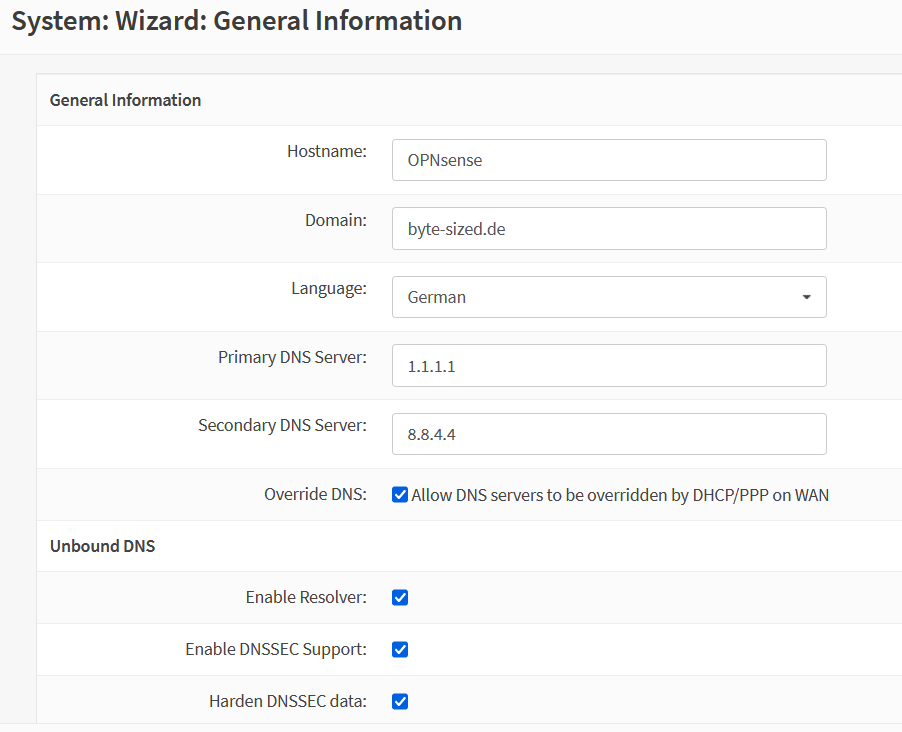
Hier kannst du nochmal allgemeine Informationen angeben. Hostname, Domain, diese Sprache für dein Interface, etc.
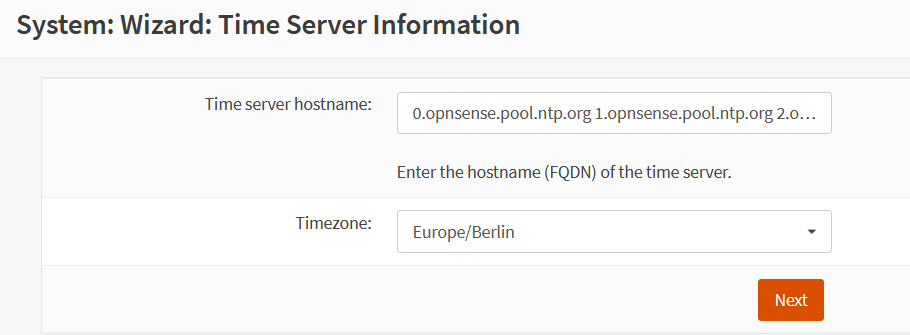
Weiter geht es mit dem Zeitserver… Deshalb sagte ich, dass sich ein Blick lohnt. Wenn man das später vergessen würde, hätten die Logdaten später vollkommen abweichende Timestamps.
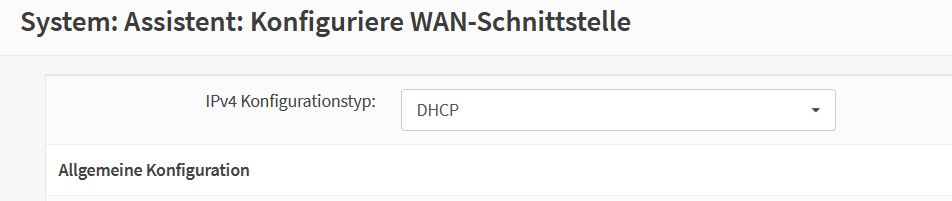
Im nächsten Schritt kommen nochmal die Schnittstellen dran. Beginnend mit der WAN-Schnittstelle…
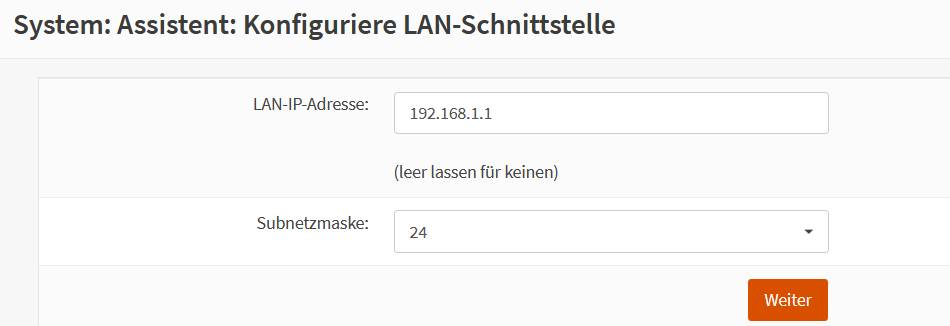
gehen wir zur LAN-Schnittstelle über.
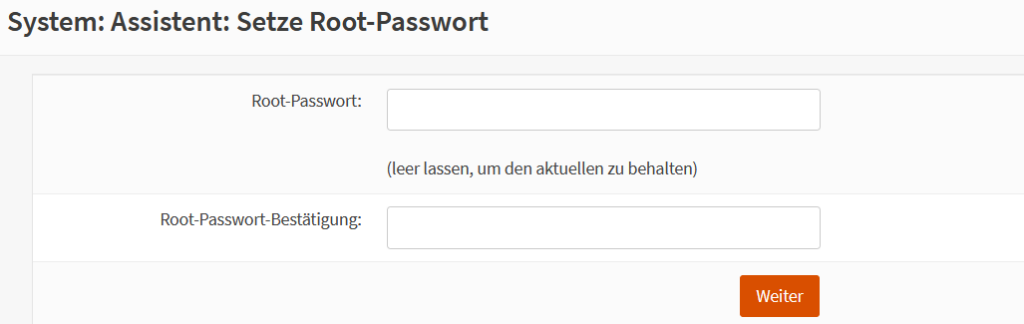
Hier kannst du nochmal ein neues Root-Passwort vergeben. Falls nicht, klicke einfach auf „Next“.
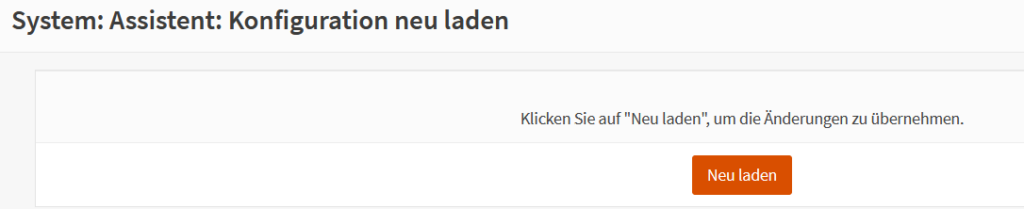
Im Anschluss wird die Konfiguration nochmal neu geladen…
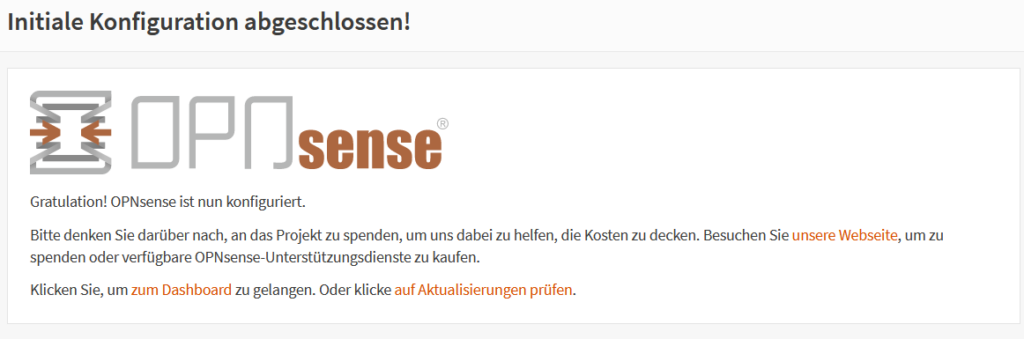
und das Setup ist endgültig abgeschlossen!
Abschluss
Das war die Installation zu OPNsense als Firewall. Als nächstes werden wir uns daran machen ein paar Regeln zu schreiben. Bis dahin, viel Spaß beim Ausprobieren!
How to install OPNsense in VirtualBox
In this tutorial, I want to show you how to easily install OPNsense in VirtualBox. OPNsense is a fork of the well-known pfSense, which in turn originated from m0n0wall. OPNsense, like pfSense, is based on FreeBSD and is also open-source software.
Before you start the installation, first download the appropriate image for your architecture: https://opnsense.org/download/
Create a VM in VirtualBox
Start VirtualBox and navigate to Machine – New in the top menu. Choose a name for your VM and select the storage location. Add the image for the OPNsense installation, set the type to „BSD“, and select the appropriate architecture for your system.
Set the RAM and processor cores for the VM here.
For testing purposes, you can leave the disk size at 16GB. For a production setup, you may want to allocate 40GB.
Here you get an overview of your configured settings.
Right-click on the newly created VM and go to „Settings“.

Switch to „Network“. For this scenario, you need two adapters: one to connect to the WAN and another for LAN access.
Adapter 1 will be a Host-only Adapter for LAN access. Allow promiscuous mode for all VMs and the host.
Adapter 2 will connect to the WAN and should act as a bridged adapter. Again, allow promiscuous mode for all VMs and the host.
Install OPNsense
Start the VM with a double-click, and the following start screen will appear. Experienced FreeBSD users will recognize it.
Once the boot process is complete, you can start the installation with the login „installer“ and the password „opnsense“.
You’ll see a screen familiar from a FreeBSD installation. Select your keyboard layout…
… and continue with the installation.

Choose your preferred file system. I chose ZFS.
If you want redundancy in the form of RAID or mirroring, you can set it up here. I am initially satisfied with stripe.
Select the disk for the installation and confirm with OK.
Last chance! If you are following the tutorial exactly, you can safely confirm with YES. Otherwise, it’s worth a final check…
Patience is a virtue
Here we go! OPNsense is being installed. The process may take some time.
At this point, you should change the root password, especially if you plan to use OPNsense in a production environment.
Choose a long and complex password. Check here for best practices.

Afterward, you can finish the installer and reboot OPNsense.
You can either shut down your VM and remove the boot medium, or catch the right moment and go to Devices – Optical Drives – Remove Medium. I prefer the latter for a bit of excitement.
Once OPNsense is started, you can finally log in. We can already see that LAN (em0) and WAN (em1) have IP addresses. The LAN interface is always set to 192.168.1.1 by default, but you can change this if needed. The WAN interface has received a DHCP address from my router; it will likely be the same for you.
After logging in, OPNsense offers us a menu. You can adjust interfaces, reset the password, etc. If you want to be sure, choose option 7 and ping www.google.com to test your internet connection.
Next, we will access the web interface.
A small adjustment is needed
I am working from my Windows 11 client and need to edit my VirtualBox Host-only Network Adapter. OPNsense has 192.168.1.1 on the LAN interface, so I set my client’s IP to 192.168.1.2.
Open the OPNsense Web Interface
Open your preferred browser and enter https://192.168.1.1 – if you have changed it, use the IP address you assigned to the LAN interface.
The following start screen should appear:
OPNsense prompts us to go through the initial configuration. While it’s not mandatory to use the firewall, it’s still worth taking a look!
Here you can provide general information such as hostname, domain, and the language for your interface.
Next, we proceed to the time server settings. This is important as incorrect timestamps in the logs can be problematic.
In the next step, we can change the interfaces again, starting with the WAN interface…
and then moving on to the LAN interface.
Here you can set a new root password. If you choose not to, simply click „Next“.
The configuration will reload…
and the setup is complete!
Conclusion
That was the installation of OPNsense as a firewall. Next, we will start writing some rules. Until then, have fun experimenting!
Start the discussion